
 I do like to try to make my energy choices a whole lot greener when I can. I’m far from perfect with doing this, so it’s good for me to have some easy, green alternatives to choose from. So I was very interested when itson batteries got in touch and asked me to try out their products. itson batteries is the latest offering from Advanced Power Solutions (APS). Advanced Power Solutions (APS – formerly named Panasonic Energy Europe) is one of the leading suppliers of premium quality consumer batteries, with a production site located in Poland. It’s great to be able to buy a European product rather than one shipped halfway across the world.
These batteries aren’t just about keeping your devices powered—they’re about making a genuine difference.
Green Credentials
Let’s talk values for a moment. itson batteries are all about shorter supply chains. While many batteries rely on resources from across the globe, the brand’s commitment to local production significantly shortens the supply chain, contributing to a reduced carbon footprint. Crafted right here in Europe, itson batteries waving goodbye to unnecessary carbon emissions and embracing renewable energy , production uses three times fewer CO2 emissions than transcontinental supply chains. So you can go ahead and power up with a clear conscience.
As well as a shorter supply chain, the brand emphasises the use of renewable energy in its battery production. itson’s alkaline batteries are manufactured using 100% renewable energy, sourced from solar and wind power. Following the same principle, itson’s rechargeable batteries are pre-charged with solar energy. So it’s good to know it isn’t just the production materials that have been considered, but the energy itself too.
 Simplicity is Key
Ever feel overwhelmed by the endless battery options out there? itson keeps things refreshingly simple with just two options: low- to mid-drain for your everyday essentials like clocks, radios and lights, and high-drain for those power-hungry moments (maybe your digital camera or a flash unit). No fuss, no frills—just reliable power when you need it most. On the packing, it’s easy to pick between the two options as itson use simple language and practical examples: generally itspower is for home use and itspremium for play use.
I do love the packaging: it does stand out from the usual battery branding. It’s minimal, but it certainly isn’t dull. These batteries come dressed to impress in a palette of vibrant hues and sleek packaging. Because the packaging is card made mostly from recycled materials, it’s also easy to recycle afterwards.
Performance
I’ve found the batteries as easy to use as you’d expect. So far, they are still going strong, but I’d expect that at the moment. I’d certainly be happy to use them again, especially knowing that they are more environmentally friendly than many alternatives. You can buy them on Amazon and in store.
Disclosure: I was sent some different types of itson batteries to try out for the purposes of this feature. My views and opinions are, as always, my own.
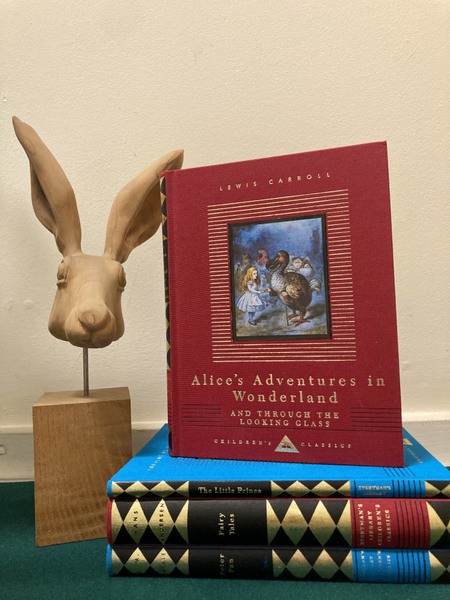
 Everyman’s Library publishes some of the world’s greatest literary classics, including over 50 children’s books, all printed on beautiful, cream-wove paper
 The products, that Wicked Uncle pick out, undergo a rigorous selection process involving toy testers and warehouse personnel. Only the top 10%-20% of items make the final cut, guaranteeing a blend of quality and age appropriateness. This curated selection also exudes a distinctive ‘cool’ factor, enhancing the giver’s reputation. This is the way to get kudos as a gift giver.
 Whether your gift recipient is a keen hiker or just likes to be well kitted out to walk the dog, these
 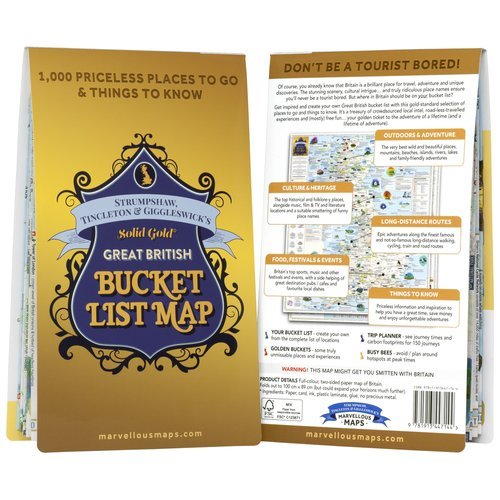 Ready for a journey of discovery? Meet ST&G’s
 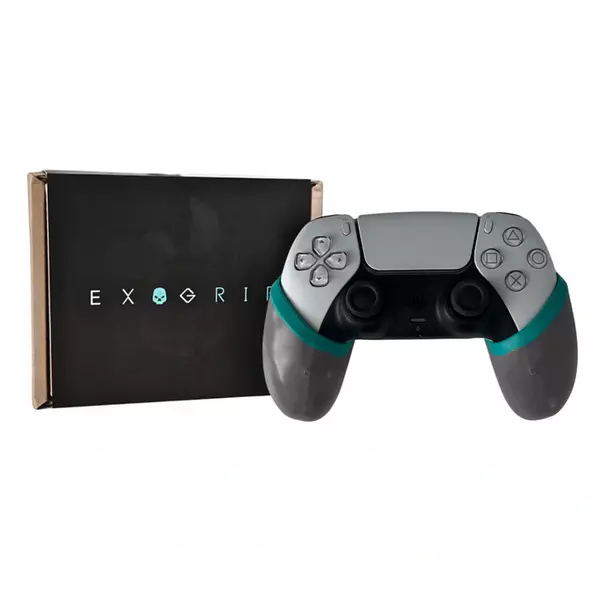 The
The  Is your gamer an Xbox enthusiast? This
 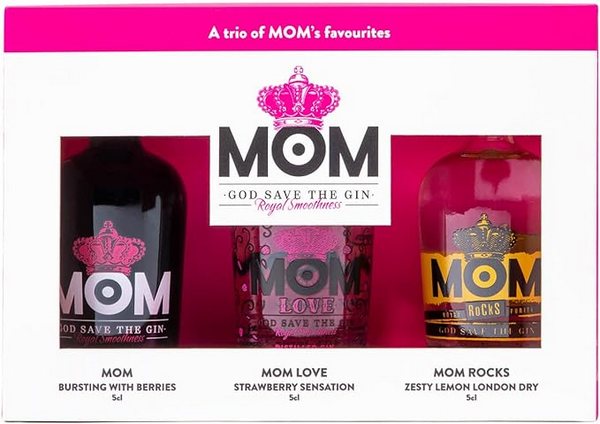 Christmas isn’t Christmas without a little gin to easy the way. If you are wanting to drink alcoholic gin, you’ll love this
 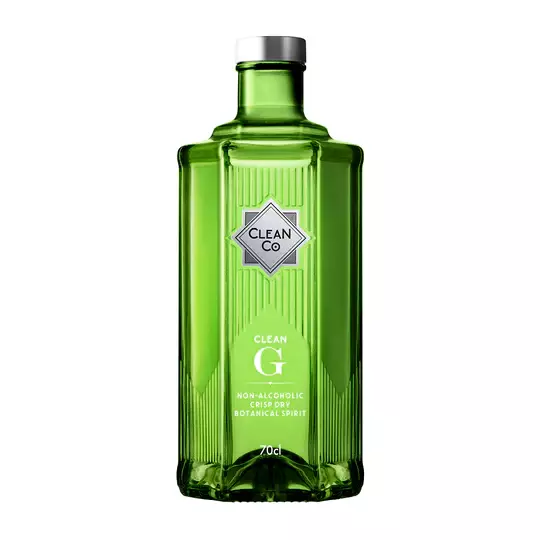 Clean G offers its unique take on London Dry Gin, showcasing a refreshing blend of crisp juniper and perfectly balanced botanicals, resulting in a delightful flavor profile.
 Everyone loves hummus and it’s a great way to give a bit of extra taste to those Christmas leftovers. But why not take it to the next level and make it something truly special. This exquisite
 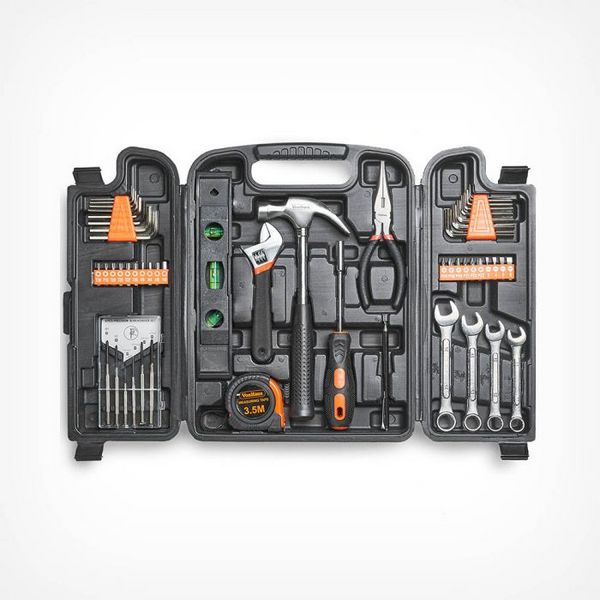 Every DIYer loves a comprehensive toolkit and this